The stupid state of JMicron drive interface IC’s
If you have ever tried to use a USB3.0 hard drive enclosure based on a JMicron chipset with TrueNAS (formerly FreeNAS); you may have come across multipath errors or serial numbers that make no sense. Or simply SMART and TRIM not functioning.
Additionally, you may have run into the stupid way these units power down the drives after 10 minutes of inactivity forcefully. Completely ignoring OS or HDD settings. This is infuriating if you want the drives to do what you tell them.
It appears that most JMicron based USB enclosures use a “feature” in the enclosure to override the model/serial number of the drive inside to instead match the outside of the case. This is popular for pre-assembled units but is an absolute pain for user-replaceable drives.
TrueNAS in particular (probably FreeBSD) gets very shitty with these enclosures.
I have found that using a very specific build of the firmware for these enclosures, and then not programming the configuration area results in the enclosure passing through both the correct drive information and allows smart/trim to work!
This is based on some testing with a set of 4 Orico enclosures I have on hand that look like this one:
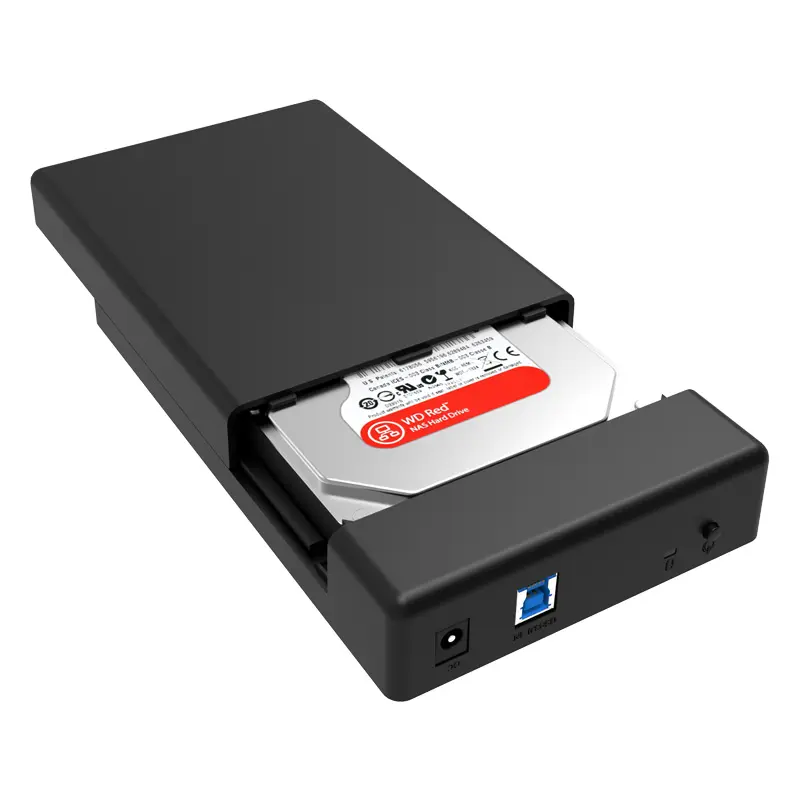
Cheap ORICO case
The firmware version that I found the most reliable for me is the one that was posted to gbatemp by Wanderson Boy Rodrigues. This was also one of the few downloads that include the required windows software.
This is an incredibly safe as the JMicron devices have a burned in bootloader that lets you recover if you ever flash the wrong thing. Additionally, these devices use an external SPI flash for the firmware + config. This means that recovery is very simple worst case.
Required software
I have re-hosted the required files to flash the firmware here for convenience in case they are ever lost to time. You will need to use a Windows machine to use the JMicron software or you can probably use the Odroid tool on an arm64 sbc (untested).
Process
The way that this works is that we want to reset all of the configuration memory to be blank (so that the device runs on defaults), and we also want to run a firmware that defaults to sane values and has auto-sleep defaulting to being turned off (some default to 10 minutes).
This does require you to have a drive in the enclosure, as it will not enumerate without a drive inserted, and the process I’m guessing uses SCSI commands to send the data to the ic. I’ve never had any issues at all with this, and have not had any damage to drives.
- Connect the enclosure to your computer with an HDD inside it.
- Open the Firmware update software
- Check that your drive shows up in the “USB DISK” menu. If multiple show up, remove any other enclosures you have connected to be safe!
- Tick the “RD Version” to enable extra options
- Tick the option “Backup Old Firmware Only”
- Click “Browse” and choose where to save a backup of your firmware
- Click “Run” to take a backup of your firmware
- Untick the “Backup Old Firmware Only”
- Tick the option “Erase All Flash Only”
- Click Run
- When the process is done, a popup will prompt you to power cycle the drive. Hit OK
- Hard power cycle the drive by pulling the power
- Connect the power again and turn on the enclosure if required
- Once the drive shows back up in the USB DISK Menu, continue below.
- Untick the option at the bottom to Erase all of the flash
- Now select the included firmware
.binfile using the “Load File” button - Now untick “Include JMS577 NVRAM” option that will have automatically ticked itself
- Click “Run” again
- Now do a full power cycle again
- You are done :D
Afterwards
After the flashing complete, you should have the following attributes of the enclosure:
- No auto power off
- Device enumerates with the drives correct model number
- Device enumerates with a valid serial number (not always correct, but unique.. Suspect some byte scrambling going on)
- Normal functionality of the enclosure.
Recovery
If for some reason you run into a bad flash of your unit you can take the following steps
If the unit enumerates to your pc
Just follow the above instructions to erase all of the firmware and power cycle your enclosure. You should be good to flash a new firmware afterwards.
If the unit does not enumerate to your pc
Don’t panic.
You will need to open your enclosure to get to the PCB. Near the main interface IC, there will be a small 8 pin SOIC that is storing the device firmware. Lookup the part number of the top of the chip to confirm its a flash IC.
With the drive powered down, you will need to short the MISO pin of the flash to the ground for the first ~1 second while the drive powers up. This will cause loading the firmware from the FLASH to fail. The unit will then boot from the internal ROM, and you can issue the erase command to then blank the flash IC and start again.
You may need to try this a few times, testing longer or shorter times of holding the pin to ground, not 1000% on this, but I have had it work every time for me eventually. I use thin-tipped tweezers to make this easier to perform.
Remember you will still need to have the drive connected, so it’s worth spending a few minutes to set up a jig for this.